Integrating Flipkart Health Plus-B2B with EasyEcom
Overview
This article explains how to integrate FKH B2B with EasyEcom by completing the required channel configuration and related setup steps.
Prerequisites
Before starting:
- Valid FKH credentials (Client ID / APOB ID).
- SKUs must exist in EasyEcom for mapping.
- Distributor and Pricing Master should be created if required for your account.
By following the below-mentioned procedure you can easily integrate Flipkart Health Plus B2B with EasyEcom.
Step 1: Click on the Settings⚙️icon on top the top right corner
Step 2: Click on 'Add Channels'
Once you click on 'Add Channels' you will be able to see list of channels available for integration.
Step 3: Select 'Flipkart Health Plus B2B'
Once you click on it the following pop-up will appear:
Enter the credentials provided by Flipkart health plus team:
- Client ID
- Distributor APOB ID
Sales Channel:
Select the Sales Channel under which orders should be mapped. Click the (plus) icon to create a new Sales Channel if it is not already available.
The selected Sales Channel will be used for B2B order routing, where applicable.
After you provide these details click on the 'Add Channels' button.
Step 4: Import Listings
You are required to initially create or update your "Seller product ID/Seller SKU" on Flipkart health Plus Listings Catalog This can be you EE master SKU or any identifier of your choice.
Navigate to Inventory > Manage Listings > Click on (☰) Hamburger Menu > Import Listing button
Click on the “Download Template Sheet” button.
Once you click on it Generic Listings Import Excel file will be downloaded in your system.
Mandatory fields in this file are SKU, GUID, Listing Reference Number, and Identifier
Enter your 'Seller product ID/Seller SKU' in SKU, Listing Reference Number and Identifier column.
Enter your FKH product ID in "GUID"
Select your marketplace as 'Flipkart Healthn Plus B2B'
Click on the “Choose File” button and select the Generic Listings Import File from your system.
Then click on the “Upload” button.
Enter your 'Seller product ID/Seller SKU' in SKU, Listing Reference Number and Identifier column.
Enter your FKH product ID in "GUID"
Step 5: Map your Products with EasyEcom
Please follow the manual mapping process to map your Health products with EasyEcom.
Step 6: Create/Update your B2B Customer/Health Buddy Master:
To create/update your b2b customer,
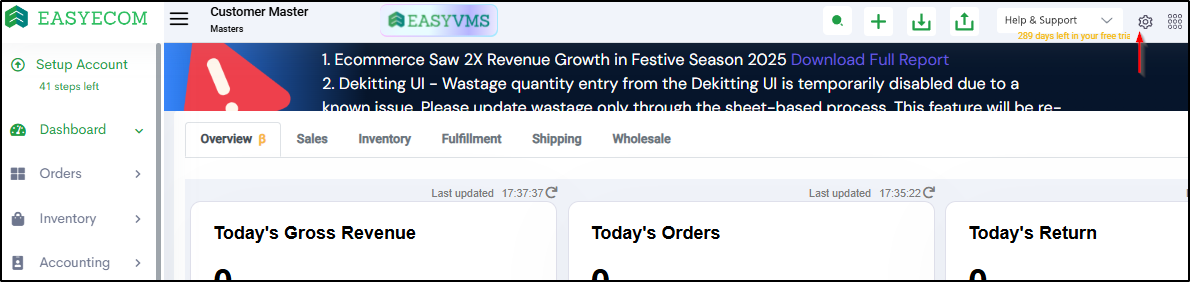
Navigate to Masters > Customer Master > Click on (☰) Hamburger Menu > Add New Customer
Please make sure your B2B customer is Updated with below details to enable the Flipkart B2B:
- Add/Update the Health-Buddy/Seller's APOB ID in Description column of the respective EasyEcom B2B customer
- Add/Update the GST number and PAN details
- Add/Update the Drug Licence (DL) number and DL expiry
- Add/Update the FSSAI Licence number and FSSAI expiry
Add Customer table for Reference:
Step 7: Create/Update your B2B Customer/Health Buddy Pricing Master:
To Create/ Update your pricing against any B2B customer/Health Buddy, configure by navigating to Masters> Pricing Master.
Click here for complete process.
Step 8: Enter Distributor level details:
To create/update your Warehouse/Distributor details,
Navigate to Settings > Company Information

Navigate to Settings > Company Information
- Add/Update the GST number and PAN details along
- Add/Update the Drug Licence (DL) number and DL expiry
- Add/Update the FSSAI Licence number and FSSAI expiry
Step 9: Enable the E-Invoicing:
Please follow the given Article to enable the E-invoicing for your EasyEcom account,
For generating E-Invoice against the channel orders from Flipkart Healkth Plus B2B,
Please enable the respective settings as per your account configuration against the channel.
- Generate E-Invoice for B2B Order
- Generate E-Waybill for B2B Order
You have now successfully integrated Flipkart Health Plus-B2B with EasyEcom.
Important Notes:
- For Pushing the B2B Invoice to FKH you can direct use the given button i.e Generate E-Invoice.
In case you have Enabled the GENERATE E-INVOICE FOR B2B ORDER in sync channels against the FKH b2b Channel then initially E-Invoice will be generated first then the signed B2B invoice will be pushed to FKH,
If it's off, then directly the B2B Invoice will be pushed to FKH.
The Dispatch has to be marked only after triggering the Generate E-Invoice button.
BestoriginalRemove
Related Articles
Integrating Flipkart Health Plus-B2C with EasyEcom
By following the below-mentioned procedure you can easily integrate Flipkart Health Plus B2C with EasyEcom. Step 1: On the dashboard, click on the “Three dots aka meatball menu” Step 2: Click on the “Account Settings” option. Once you click on the ...Integrating Flipkart With EasyEcom
This process connects a Flipkart seller account with EasyEcom. Prerequisites Seller ID Location ID Flipkart login credentials Step 1: Click on the Settings⚙️icon on top the top right corner Step 2: Click on 'Add Channels' Once you click on 'Add ...Integrating Flipkart Advantage with EasyEcom
By following the below-mentioned procedure you can easily integrate Flipkart Advantage with EasyEcom. Step 1: On the dashboard, click on the “Three dots aka meatball menu” Step 2: Click on the “Account Settings” option Once you click on the meatball ...Integrating Ekart with EasyEcom
Overview Ekart can be integrated with EasyEcom as a shipping carrier to manage shipment creation, shipment tracking, and return processing. Once integrated, EasyEcom can create shipments in Ekart and receive shipment status updates. When to Use This ...Integrating EasyGSP with EasyEcom
Overview EasyGSP cannot be integrated directly from EasyEcom. To integrate EasyGSP, contact the EasyEcom team. Once access is provided, configure EasyGSP from: Settings > Add Channels > EasyGSP EasyGSP access is provided separately for each location.