Integrating Flipkart With EasyEcom
This process connects a Flipkart seller account with EasyEcom.
Prerequisites
- Seller ID
- Location ID
- Flipkart login credentials
Step 1: Click on the Settings⚙️icon on top the top right corner
Step 2: Click on 'Add Channels'
Once you click on 'Add Channels' you will be navigated to the following page.
Step 3: Select 'Flipkart'
Once you click on it the following pop-up will appear. You are required to enter Seller ID, Location ID and select required settings.
How to Find Seller ID
- Log in to Flipkart Seller Panel
- Press Ctrl + Shift + I
- Open Network tab
- Identify request containing Seller ID
- Copy the Seller ID & Enter this value in EasyEcom

Ensure a valid Seller ID is entered. An incorrect or invalid Seller ID can lead to order import and inventory update failures over time.
How to Find Location ID
- Log in to Flipkart Seller Panel
- Navigate to:
Orders → Active Orders - Select location from dropdown
- Right-click on location field
- Click Inspect
- Copy Location ID (starts with LOC) & Enter this value in EasyEcom
Step 4: Configure “Add Channel” details
Select Label Size
- Dropdown available
Select Auto Update Package Dimensions
Available options:
- Flipkart Proposed dimension values
- In case of a dimension error, EasyEcom retries using Flipkart suggested dimensions
- Seller input Dimensions
- In case of a dimension error, EasyEcom retries using user input package dimensions
Create Products Automatically
- If enabled, EasyEcom creates Master SKU for Flipkart listings
- If not enabled, product master must be uploaded and mapped manually
Click Add Channel after entering all details.
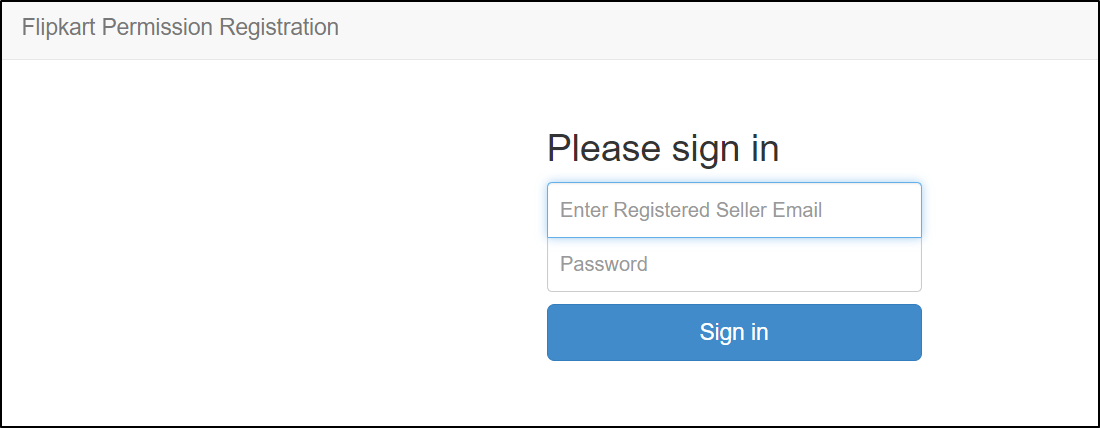
Step 5: Authorize Flipkart Account
After clicking Add Channel, system triggers Flipkart authentication:
Enter Username and Password
Click Sign In
Click Sign In
Once redirected, click Allow
Step 6: Webhook Activation
Raise a ticket with EasyEcom support to enable webhook for your Flipkart account
Share the following details:
- EasyEcom Seller ID
- Flipkart Seller ID
- Flipkart Location ID(s)
Completion
Integration is complete after:
- Channel is added
- Webhook is activated
Note
If suggested weight is higher than actual weight:
- Update product dimensions in Flipkart
- Or raise a case with Flipkart
Related Articles
Integrating Flipkart Health Plus-B2B with EasyEcom
Overview This article explains how to integrate FKH B2B with EasyEcom by completing the required channel configuration and related setup steps. Prerequisites Before starting: Valid FKH credentials (Client ID / APOB ID). SKUs must exist in EasyEcom ...Integrating Ginesys POS+ERP with EasyEcom
To integrate your Ginesys POS+ERP account with EasyEcom please follow the below-mentioned process. Step 1: In the toggle menu, navigate to “Accounting>>ERP Integration” Step 2: Select "Ginesys POS+ERP" On the ERP Integration webpage, click on the ...Integrating Wishlink with EasyEcom
This guide explains how to integrate Wishlink Marketplace with EasyEcom to manage listings, inventory, orders, fulfillment, cancellations, and returns. Step 1: Click on the Settings (⚙️) icon in the top-right corner Step 2: Click on 'Add Channels' ...Integrating Marketplace using EasyEcom Standard APIs
You can easily integrate your marketplace with EasyEcom by following the process explained in this video and/or the integration workflow document shared with you. Marketplace Integration Frequently Asked Questions 1. Do we need to add carrier ...Integrating Flipkart Health Plus-B2C with EasyEcom
By following the below-mentioned procedure you can easily integrate Flipkart Health Plus B2C with EasyEcom. Step 1: On the dashboard, click on the “Three dots aka meatball menu” Step 2: Click on the “Account Settings” option. Once you click on the ...