Integrating Booon with EasyEcom
This guide explains how to integrate Booon Marketplace with EasyEcom to manage orders, inventory, and fulfillment.
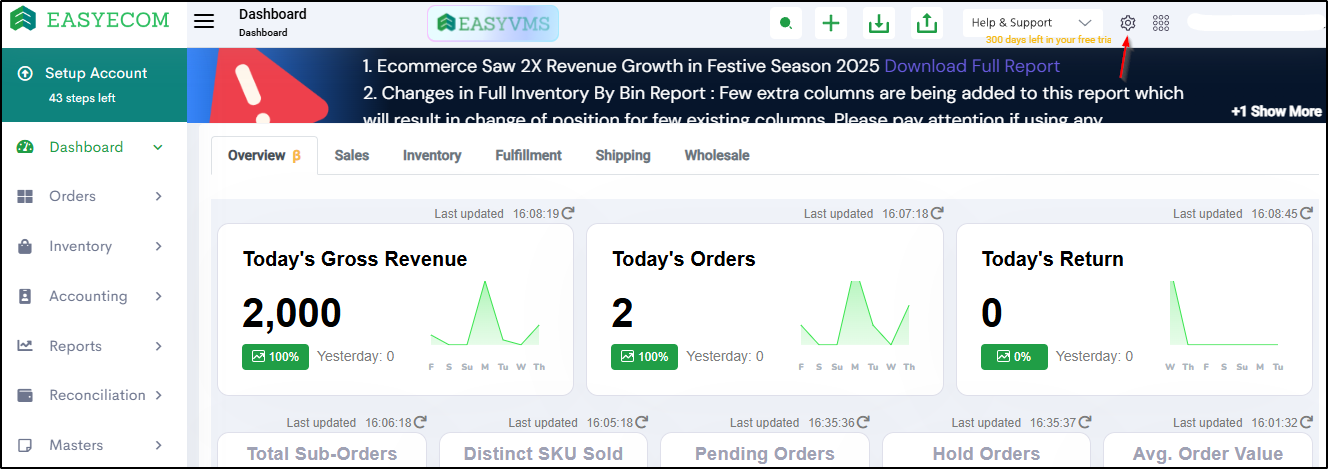
Step 1: Click on the Settings (⚙️) icon in the top-right corner
Step 2: Click on 'Add Channels'
You will be redirected to the channel selection page.
Step 3: Select 'Booon'
Once you click on it the following pop-up will appear:
Enter the API username & password and Click on Add Channel.
Keep Create Products Automatically disabled unless specifically instructed.
API Username & Password Details
The Username and Password entered here must be the EasyEcom API User credentials.
- The API user must be created by the client inside EasyEcom.
- The password must be set by the client.
- Ensure the API user has the required permissions for integration.
Refer to the following article for creating and defining user roles: Adding and Defining User Role in EasyEcom
Location Key Requirement
The channel is added under a specific warehouse location.
The same Location Key must be shared with the Booon team.
To find the Location Key, Click on:
Profile (Top Right Corner) → Copy Account Token / Location Key from the respective warehouse.
Details to be Shared with Booon
- API Username
- API Password
- Location Key
Step 4: Enable API Mode
Go to:
Settings → Sync Channels → Booon
Enable API Mode for the Booon marketplace.
API Mode is mandatory for Selfship marketplace integrations.
Order Flow
- Orders are created on Booon.
-
Orders are pushed to EasyEcom through API.
- Orders initially appear in the Failed Orders section until the carrier is assigned by Booon.
- Booon creates the carrier and AWB details.
- Seller processes and ships the order from EasyEcom.
- Inventory updates are synchronized from EasyEcom to Booon.
- Manifested status updates are synchronized from EasyEcom to Booon.
Integration Touchpoints
| S No | API / Webhook Name | Direction | Trigger Type | Remarks |
|---|---|---|---|---|
| 1 | Get Auth Token | Marketplace → EE | API | Used to generate authentication token |
| 2 | Get Location | Marketplace → EE | API | Fetches location details |
| 3 | Add Carrier Credentials | Marketplace → EE | API | Used to configure carrier credentials. This API should be used only one time for one location. |
| 4 | Get Product | EE → Marketplace | API | Fetches product details |
| 5 | Create Order | Marketplace → EE | API | Creates orders in EasyEcom |
| 6 | Assign Shipment Details | Marketplace → EE | API | Assigns shipment details |
| 7 | Inventory Update - Webhook | EE → Marketplace | Webhook | Pushes inventory updates |
| 8 | Manifested - Webhook | EE → Marketplace | Webhook | Pushes manifested updates |
Webhook Endpoint
Inventory Update Webhook
https://api.booon.in/api/easyecom/inventory-update
Important Operational Notes
- This is a Marketplace Shipped integration.
- Booon creates the carrier and AWB details.
- Seller is responsible for processing and shipping the order.
- Cancel Order is not used in this integration.
- Mark Pending Return API is not used in this integration.
- Mark Return is not used in this integration.
- Inventory updates are synchronized from EasyEcom to Booon.
- Manifested status updates are synchronized from EasyEcom to Booon.
Related Articles
Integrating Loqally with EasyEcom
This guide explains how to configure the Loqally integration in EasyEcom, and also supports reverse shipment. Step 1: Navigate to Carrier Master Masters > Carrier Master Step 2: Click on 'Add New' and Select 'Loqally Outbound' from the dropdown Step ...Integrating BoxD Logistics with EasyEcom
This guide explains how to configure the BoxD Logistics integration in EasyEcom, and also supports reverse shipment. Step 1: Navigate to Carrier Master Masters > Carrier Master Step 2: Click on 'Add New' and Select 'BoxD Logistics Outbound' from the ...Integrating RapidShyp B2B with EasyEcom
This guide explains how to configure the RapidShyp B2B integration in EasyEcom. Prerequisite RapidShyp B2B works only for accounts where the New B2B Module is enabled. For B2B order processing flow, refer to: B2B Order Processing - New Workflow Step ...Integrating SharkShip Outbound with EasyEcom
This guide explains how to configure the SharkShip carrier integration in EasyEcom for shipment creation and shipment cancellation. Step 1: Navigate to Carrier Master Masters > Carrier Master Step 2: Click on 'Add New' and Select 'Sharkship Outbound' ...Integrating Noon with EasyEcom
This guide explains how Noon orders, shipment creation, AWB mapping, and manifestation are managed through the EasyEcom integration flow. Step 1: Click on the Settings (⚙️) Icon Click on the Settings (⚙️) icon in the top-right corner. Step 2: Click ...