Adding New Users and Defining User Roles
- Add Standard User:
- Add Custom User
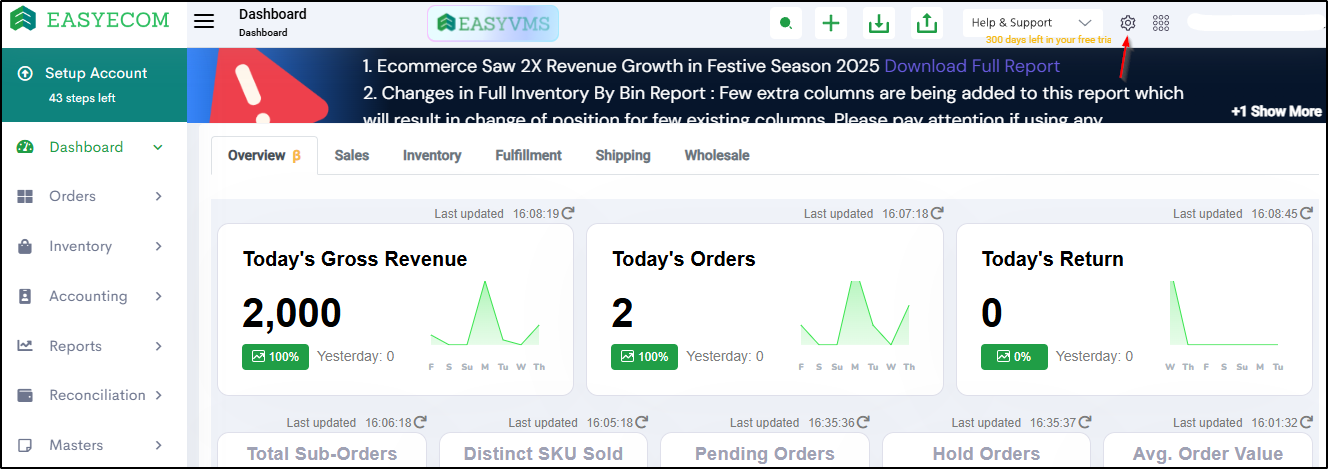
Step 1: Click on the Settings (⚙️) icon in the top-right corner
Step 2: Click on 'Users'
To Add Standard User
Click on the “Add Standard User” button.
Once you click on the following will be displayed on your screen:
You need to provide the following details:
User’s Name
User’s Email ID: EasyEcom will send the user password on this Email ID.
User’s contact number
User’s Role Type: This you can select from the drop-down option.
Secondary ID- Alternate email id of the user
Grant access to all locations- If enabled, the user can access all the locations and their data
Grant PII Access- When enabled, the user can view or manage sensitive customer data
Grant PII Access for Reports- When enabled, the user can access the sensitive customer data in the reports.
You have now successfully added a Standard User.
 Note: Multiple users can be added to one account and assigned different roles to operate in EasyEcom.
To Add Custom User
Click on the “Add Custom User” button.
Once you click on it the following pop-up will appear:
You need to enter the following details:
-Role Name
-Name
-Email ID: EasyEcom will send the user password on this Email ID.
-Contact Number
You have now successfully added a Custom User.
Related Articles
B2B Order Processing (New)
Software Plan : Growth & Enterprise Account Type : Seller Account & 3PL Inventory Type : Serialized & Non-Serialized Overview Easyecom announces a significant upgrade to its B2B order processing platform, prioritizing enhanced efficiency, streamlined ...B2B Order Processing (New) Process + Speed Optimized Flow
Software Plan : Growth & Enterprise Account Type : Seller Account Inventory Type : Serialized & Non-Serialized Overview This article explains how to process B2B orders using Process + Speed Optimized Flow. In this flow: Invoicing is done from Order ...User Roles in EasyEcom
Role Type: Vendor Admin The users who have been given the role type of Vendor admin will have access to complete EasyEcom panel from order processing activity to reporting section. It is recommended to provide this access only to a user who requires ...Integrating WMS with EasyEcom (Nexar Logistics)
Overview This integration enables Nexar Logistics WMS to integrate with EasyEcom for order fulfilment. In this setup: EasyEcom acts as the Order Management System (OMS). Nexar Logistics operates the Warehouse Management System (WMS). Nexar manages ...Integrating DTDC Raftaar WMS with EasyEcom
Software Plan : Starter Account Type : Seller Account Inventory Type : Non-Serialized Feature Description This integration enables DTDC Raftaar WMS to connect with EasyEcom for managing order fulfillment. Once integrated: EasyEcom provides new orders ...