Steps to create GRN without Purchase Order
STEP 1: Navigate to Inventory > purchase planning
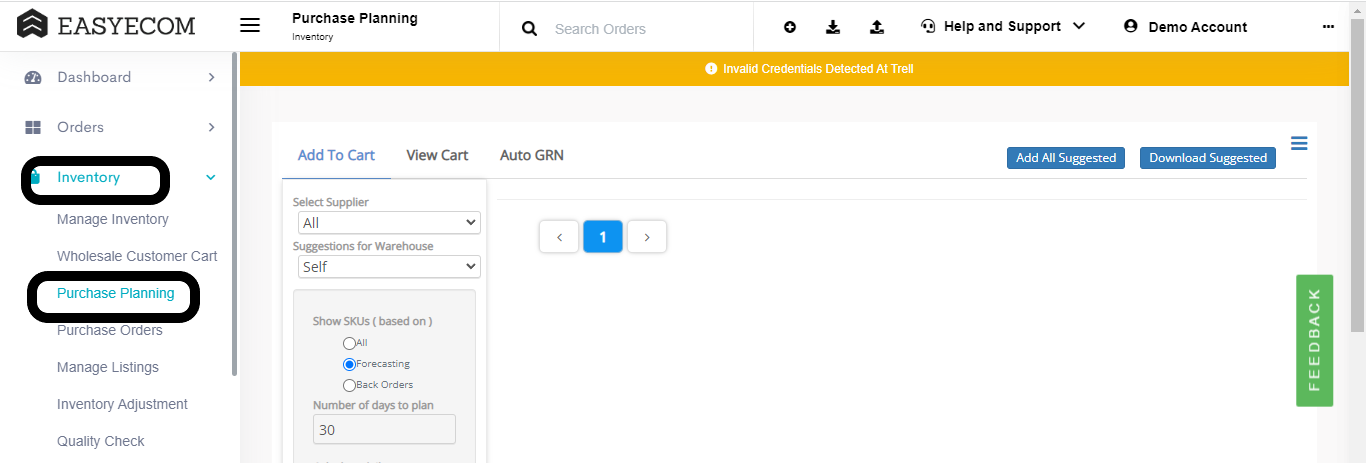
Click on Auto GRN
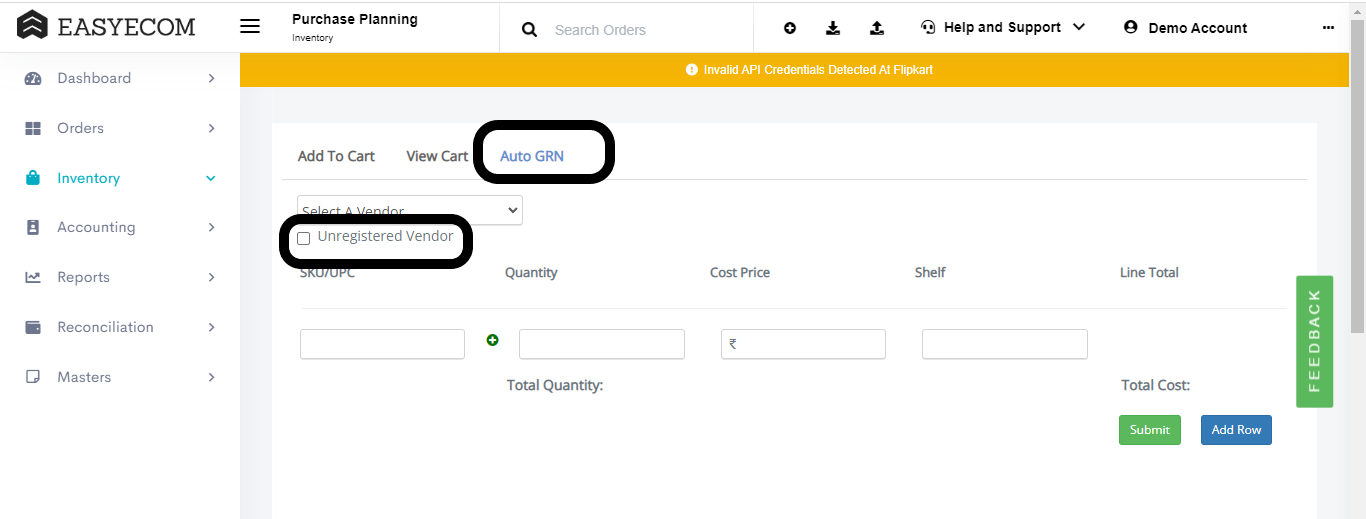
STEP 2: Select a vendor from the dropdown.
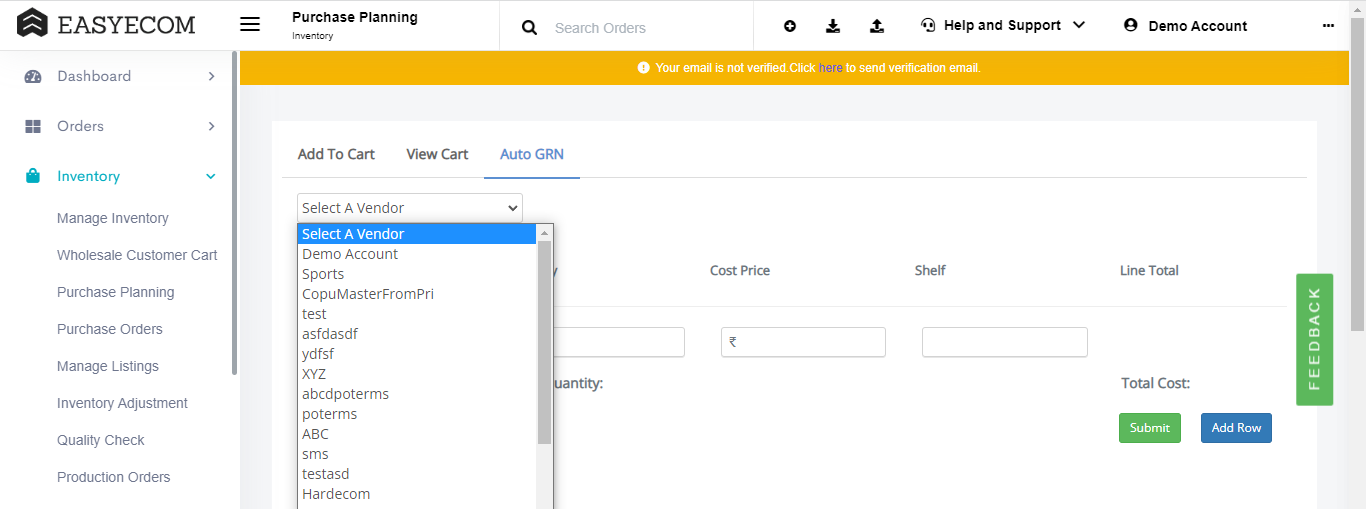
If the vendor is not registered, either you can go to the vendor master to create a vendor OR you can directly click on the Unregistered vendor checkbox. Add all the vendor details.
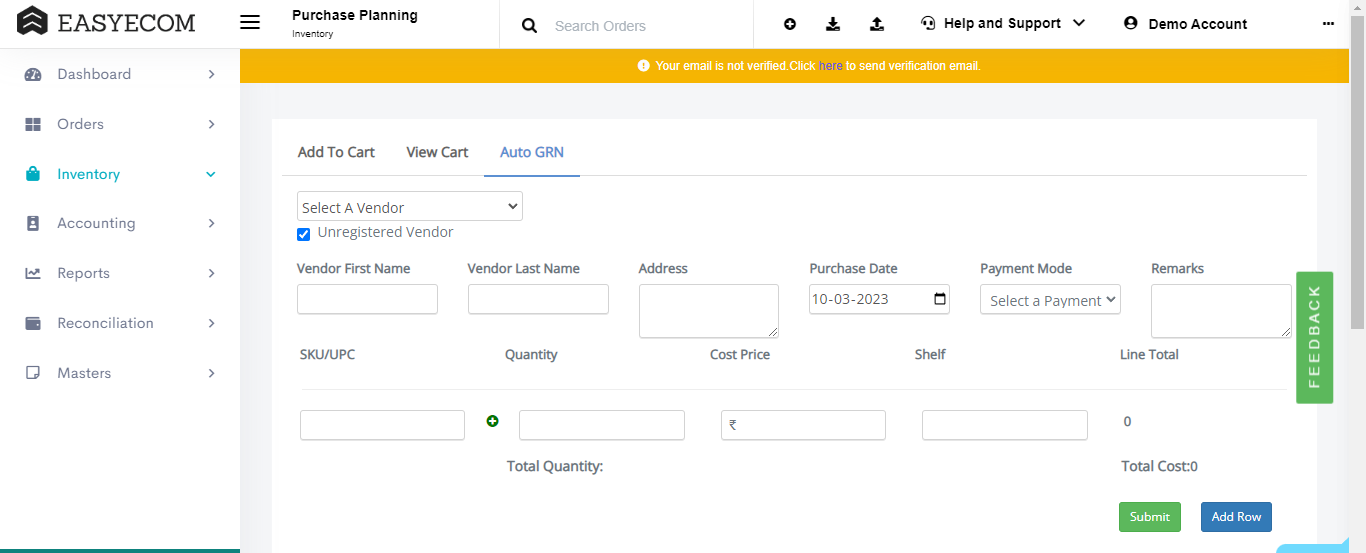
STEP 3: Add SKU details
Enter the SKU in the text box. The system will reflect the SKU names that are already in your product master.
If it is a new product, you can create the product by clicking on the green plus (+) icon
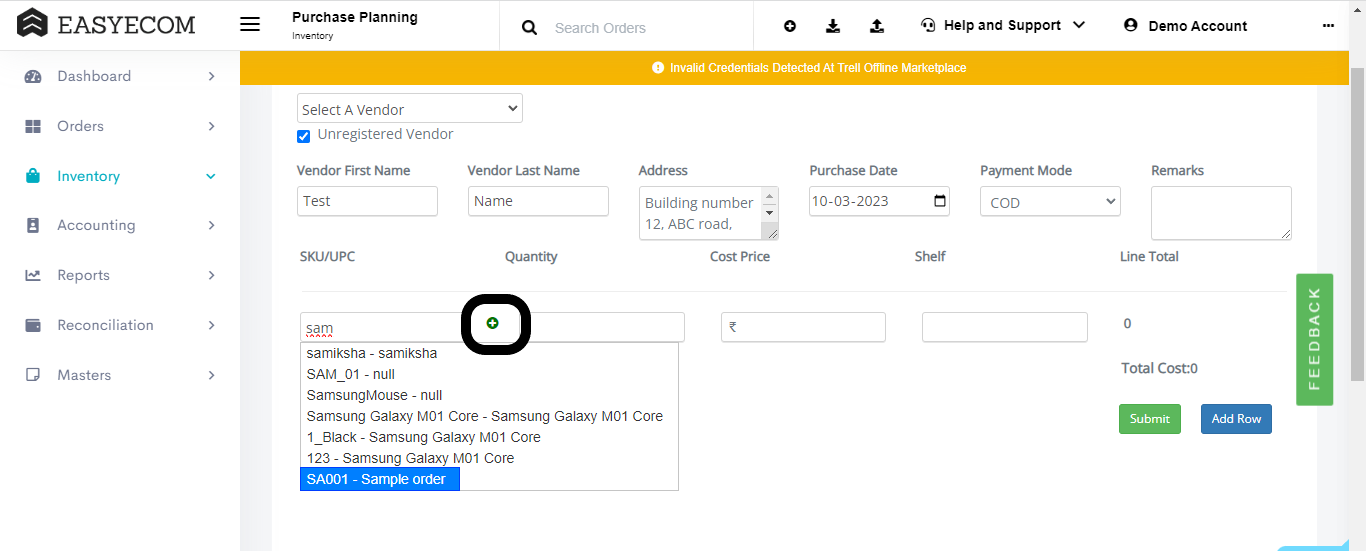
NOTE: The green button to add new products is only available in the primary warehouse location. The child warehouse locations will not be able to create products on this screen.

Enter all the details and click on "Yes".
STEP 4: Submit
You can add more rows by clicking on "Add row"-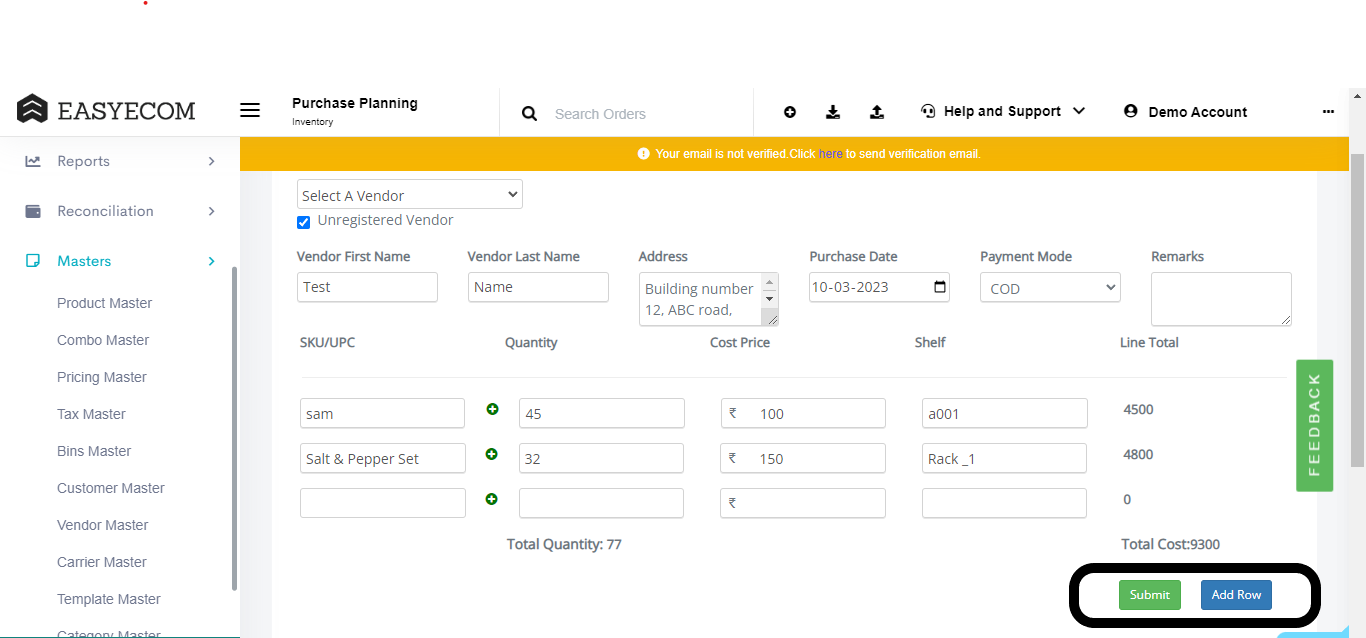
After you have entered all the details, click on Submit.
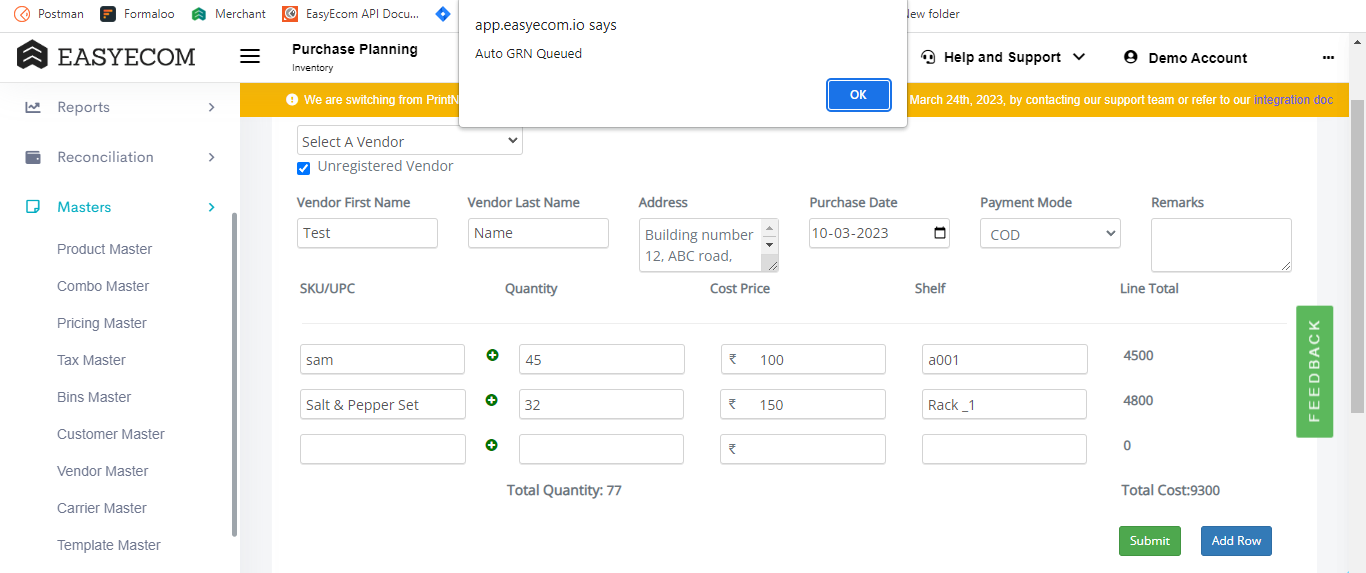
You have now completed the process of auto GRN.
The above process was for individual upload. You can follow the below process to record GRN without PO (in bulk):
Step 1: In the toggle menu, navigate to “Inventory>>Purchase Planning”
Once you click on it the following pop-up will appear:
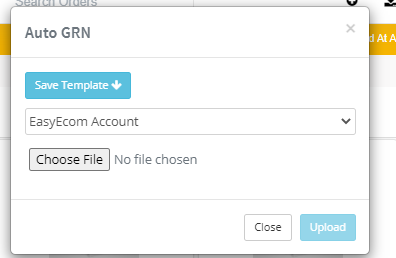
First select a vendor from the drop-down menu.
 Note: Date values entered during GRN creation are interpreted according to the account’s configured time zone.
Then click on the “Save Template” button to download the GRN Sheet. Fill in the details in the excel file, and save it. Then click on the “Choose File” button, and select this file from your system and upload it by clicking on the “Upload” button.
If you do not follow a Shelving System, Create a Shelf by the name “Default” by following this guide - https://support.easyecom.io/portal/en/kb/articles/creating-shelf-in-easyecom
You can then type “Default” in the Shelf Column in the Bulk Auto GRN Sheet.
If any error comes after uploading the GRN sheet such as an Invalid master SKU (Create the Master SKU first and then upload the sheet)
After the sheet is uploaded, the GRN will be queued and the inventory quantity will be successfully updated.
Related Articles
HHT : Auto GRN (GRN without PO)
Software Plan: Growth & Enterprise Account Type: Seller Account, Aggregator, 3PL Inventory Type: Serialized Feature Description Auto GRN is a type of Goods Receipt Note (GRN) that is created without a Purchase Order (PO). Unlike the standard GRN ...Split Delivery PO in Easyecom
Software Plan: Growth & Enterprise Account Type: Seller Account & Aggregator 3PL Inventory Type: Serialized & Non-Serialized Feature Description The Split Delivery PO feature allows you to split a Purchase Order created at one location and distribute ...Create Goods Receiving Note - GRN
Software Plan: Growth & Enterprise Account Type: Seller Account, Aggregator, 3PL Inventory Type: Serialized & Non- Serialized Feature Description A Goods Receiving Note (GRN) is an internal document produced by the warehouse team after inspecting the ...GRN Approval Configuration
Software Plan : Growth & Enterprise Account Type : Seller Account & Aggregator 3PL Inventory Type : Serialized & Non-Serialized Feature description The GRN Approval Configuration feature introduces an additional layer of control for sellers during ...QR Code Scanning on GRN page
Software Plan: Growth & Enterprise Account Type: Seller Account & Aggregator 3PL Inventory Type: Non-Serialized Feature Description Easyecom now features QR code scanning on the GRN (Goods Receiving Note) page as well as in HHT. This new feature ...