Wave Picking Configuration
What is Wave Picking?
Wave picking is a way of short-interval scheduling where the system creates picklists at certain intervals.
Managers, using the WMS, may assign groups of orders into short intervals called "waves" automatically, to initially simulate the flow for the day, consistent with the order departure plan and available labor.
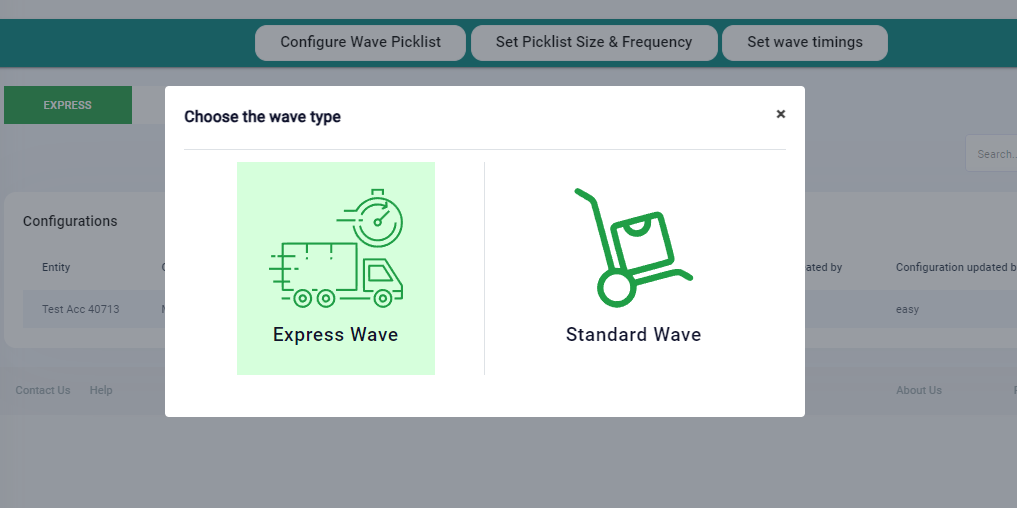
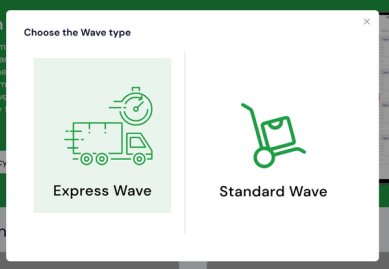
How many different types of Wave Picking configurations will be available in EasyEcom?
Express wave
Standard wave
What is Wave size and Wave Frequency?
Wave size is the total number of items that will be present in a single picklist.
Wave Frequency is the time interval in which the wave will run and a picklist will be created.
WAVE CONFIGURATION:
In EasyEcom wave can be configured in two ways, namely-
Standard Wave Configuration.
In this configuration the following modules are available-
Channel Priority: When this option is selected, picking would be done as per priority given to the Channel. The items belonging to the Channel with the highest priority would be picked first. 1 is the highest priority and 10 is the lowest. When a new channel is added to a seller and if channel priority is added in the standard config. This new channel will inherit channel priority as 1.
By Order SLA: When this option is selected, picking would be done based on the required by time (SLA) of each order, regardless of the Channel they belong to. The oldest SLA order will be released first/included in the Picklist first.
Express Wave Configuration-
In this configuration the following modules are available-
Order Priority- All the priority orders will fall in Express picking and will be sorted as per the order SLA time of those orders.
Order SLA- all the orders that have an SLA time before the cut-off time will fall under Express wave picking and the remaining orders which do not satisfy this condition will fall under Standard Wave Picking.
How to enable wave picking module for your account?
Navigate to account settings>>other settings, and enable wave picking.

When wave picking is enabled, Pigeon Hole Sorting Station will also be enabled and the system will ask for your consent to proceed.
Click here to get more detail of Pigeon Hole Sorting Station
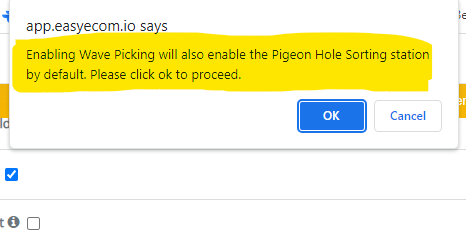
Press OK to proceed.
3) Cluster Picking
Enabling pigeon-hole is mandatory for distributed picklist type and the system will ask for your consent to enable the same and proceed.

Channel Priority: When this option is selected, picking would be done as per priority given to the Channel. The items belonging to the Channel with the highest priority would be picked first. 1 is the highest priority and 10 is the lowest. When a new channel is added to a seller and if channel priority is added in the standard config. This new channel will inherit channel priority as 1.
By Order SLA: When this option is selected, picking would be done based on the required by time (SLA) of each order, regardless of the Channel they belong to. The oldest SLA order will be released first/included in the Picklist first.
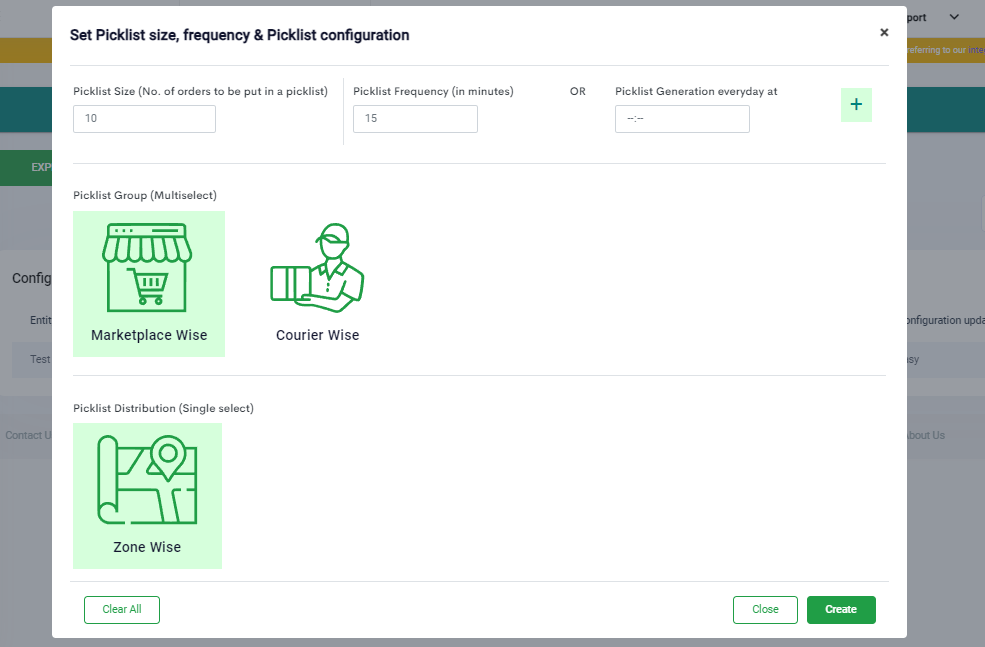
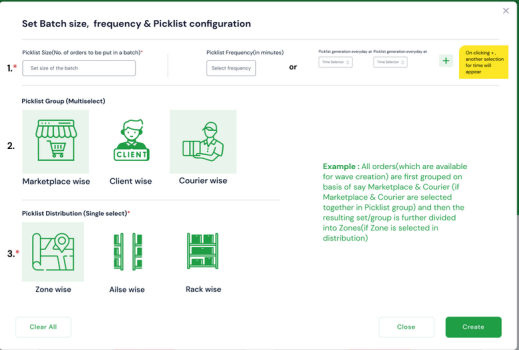
2. Set grouping and distribution
Note-. Group selection will be multi-select and distribution selection will be single-select
eg: If Marketplace and Courier are selected as a group and zone is selected in distribution then the system will first group all orders(Total orders: 500) according to MP+Courier and then these orders will be distributed in their own picklists according to the zones.
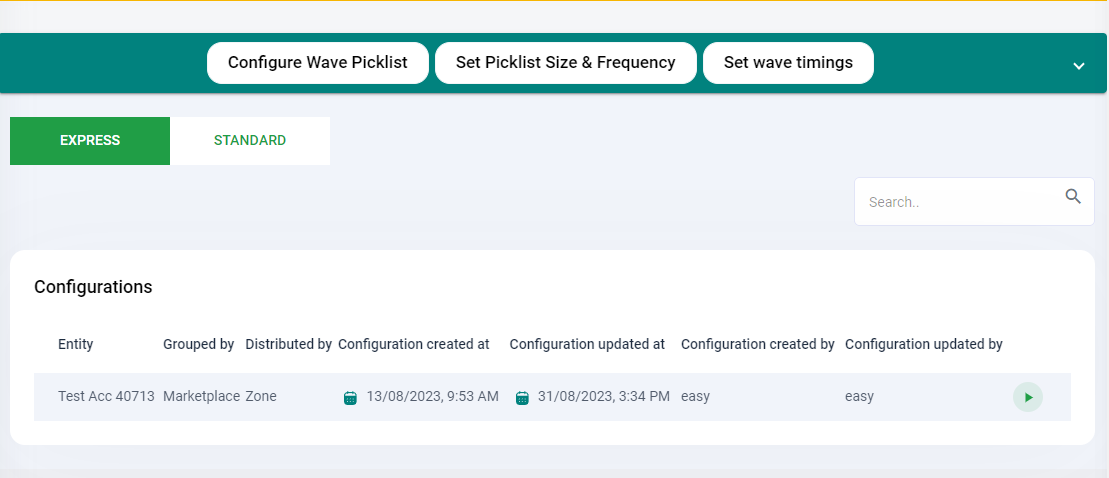
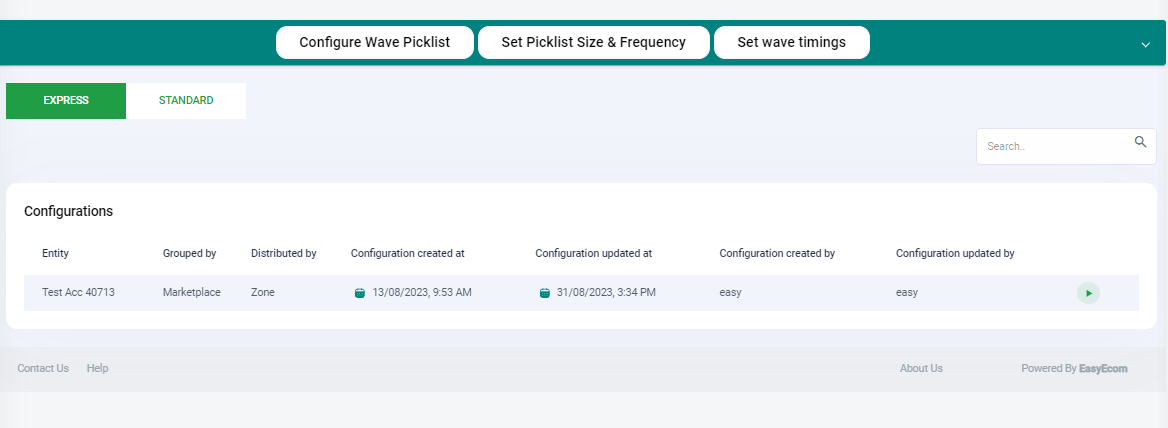
3. On providing the above information, wave configuration with filter type as ‘Order SLA’ will be created for all the channels as shown below
4. If you want to make changes from Order SLA to ‘Channel Priority’, then you may click on the “configure wave picklist” button and choose the wave type as Standard.
5. On choosing standard waves, select the ‘Channel Priority’ option from the filter. Upon choosing, all the integrated channels (including the channel for which the orders are routed to this location) will be shown in list view with an option to define priority against each channel.
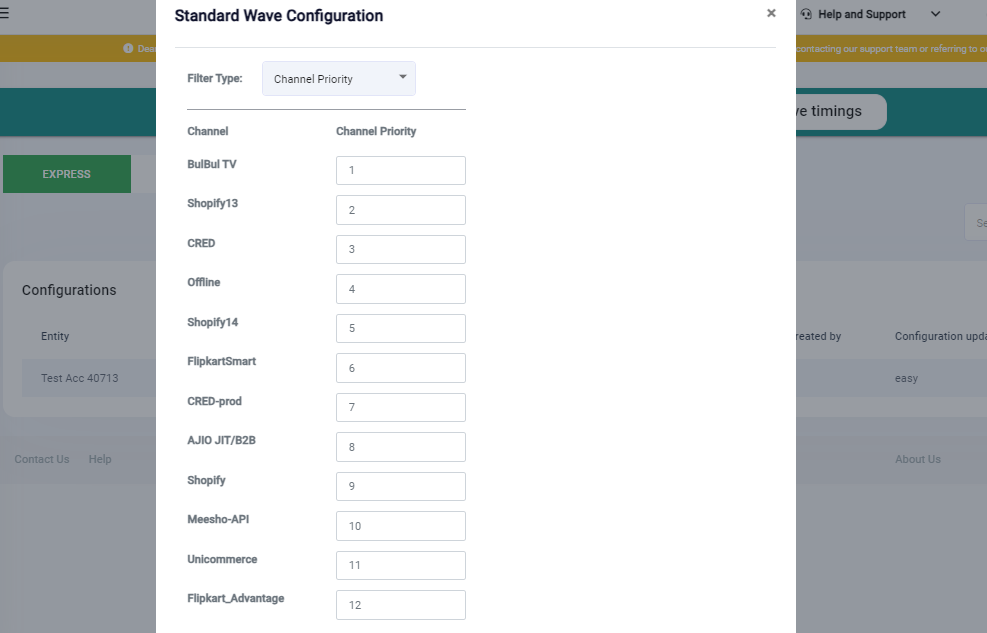
6. It may be noted that the same channel priority can be defined for more than 1 channel/marketplace.
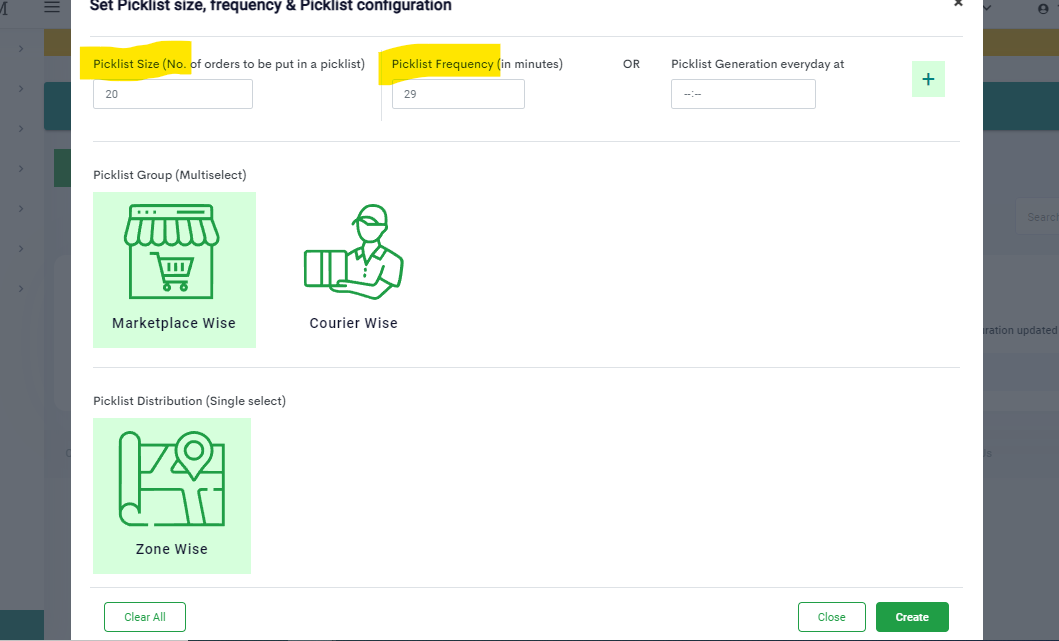
7. Once the filter type is chosen, click on the Next button, and define the Picklist size, Picklist frequency, and grouping method on which the picklist needs to be created. Picklist frequency can be defined either via time intervals or at a fixed time.
(If Picklist size and Picklist frequency is selected then the picklist will get generated after every time duration (eg:29 mins in the above snapshot) which you have set but if you want to generate the picklist at a set time daily (eg: at 12:00 noon and 04:00 PM) then you may choose the option “Picklist Generation every day at” to set the time.)
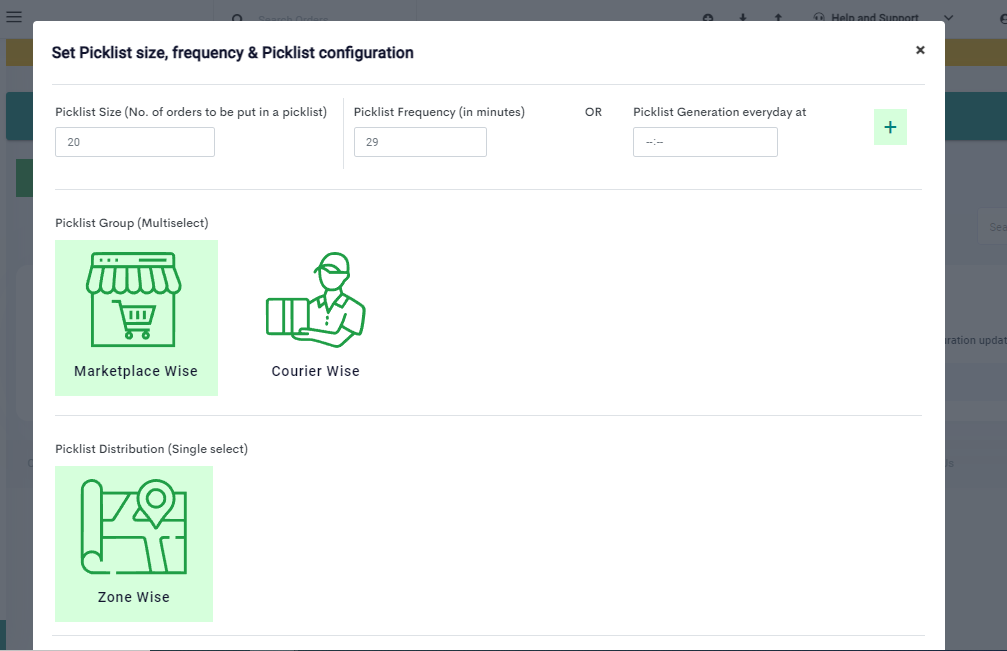
Once done, click on “Create” to save the wave configuration.
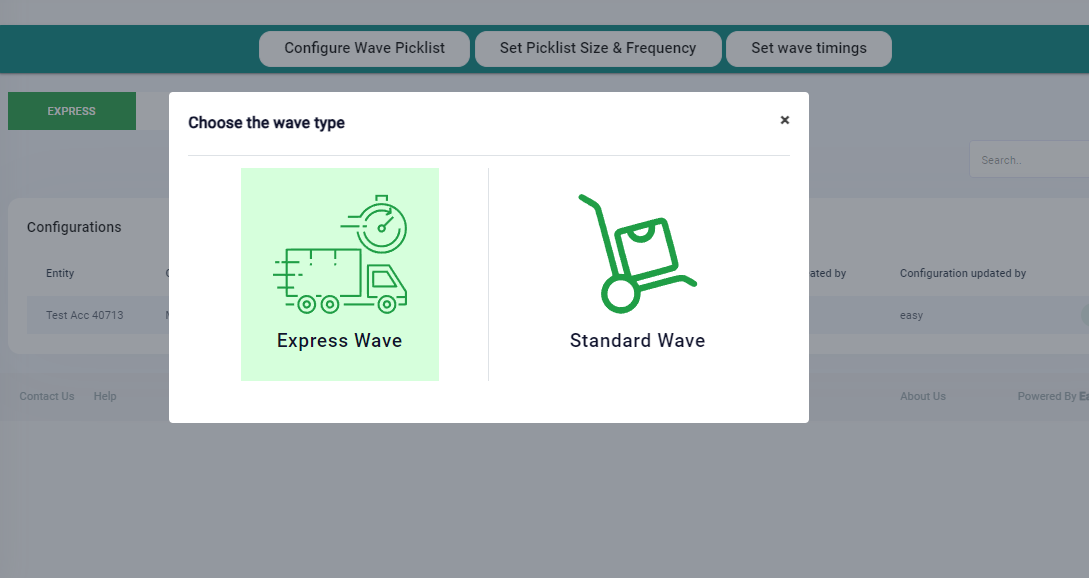
EXPRESS WAVE CONFIGURATION:
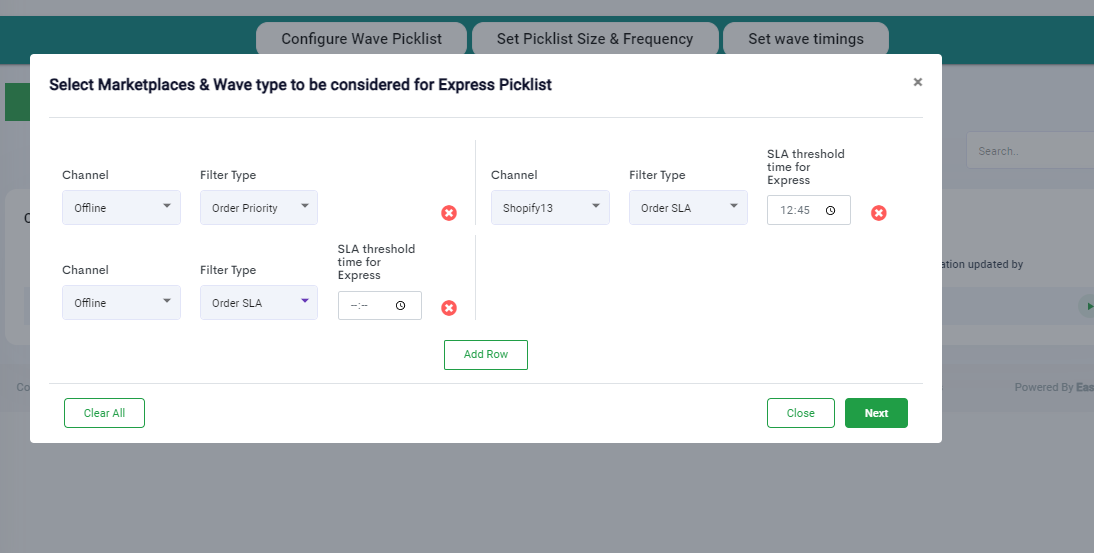
Navigate to the Wave creation page and click on ‘Configure Wave Picklist’ and choose ‘Express Wave’
Under the express wave configuration page, choose channels and define the Filter type for the selected channels.
The filter type can be either ‘Order Priority’ or 'Order SLA' or a combination of both options. If the second option is chosen then the SLA threshold time needs to be defined.
In case the Filter Type is selected as ‘Order Priority’ (0 or 1), all the priority orders will fall in Express picking and will be sorted as per the order SLA time of those orders. In this filter, ‘ALL’ marketplace option can also be selected. If this option is chosen, no further marketplace with order priority can be defined.
In case the Filter type is selected as ‘Order SLA’, then the user needs to define the SLA cut-off time of that channel. Once configured, all the orders that have an SLA time before the cut-off time will fall under Express wave picking and the remaining orders that do not satisfy this condition will fall under Standard Wave Picking.
In case the filter type is selected as order priority along with the order SLA, then all the orders of that channel which are priority orders and orders before the SLA cut-off time will fall under Express wave picking and the remaining orders that do not satisfy this condition will fall under Standard Wave Picking.
Once the above configuration is completed, click on the Next button and define the Picklist size and Picklist frequency / Picklist Generation time
Once done, click on create to save the wave configuration.
WAVE PICKING FOR 3PL AGGREGATOR LOCATION:
In a 3PL location, users will be asked to enable the wave picking from the Account Setting>>other settings.
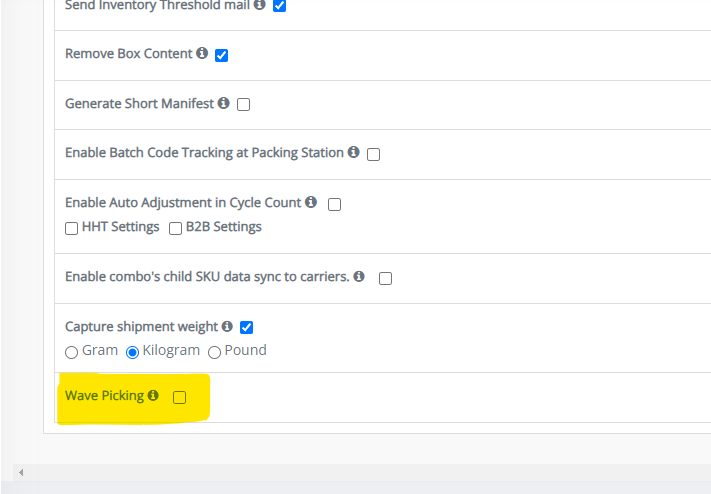
As soon as the wave picking option is checked, define the Picklist frequency, Picklist size, grouping, and distribution via which batch needs to be created.
As soon as the above configuration is done all the mapped seller’s locations with this 3PL location will have standard wave- Order SLA setting by default.
If you want to change the configuration for any particular seller, then click on the configure wave picklist button. Once clicked, select the seller for which configuration needs to be changed.
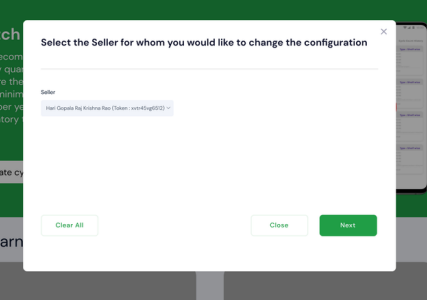
Once the seller’s location is selected click on the next button then choose the configuration type- Standard or Express.
Based on the Chosen parameter, the process explained above for Standard and Express waves will follow.
Points to Remember for Wave Picking enabled in 3PL location-
The seller will not have the option to configure the wave if its location is mapped with a 3PL location.
If a new seller is mapped to the 3PL location, then the existing configuration of the wave will be inherited for this new seller.
If a new channel/marketplace is added to the seller's account then the default wave configuration activated in the 3PL location will be enabled for this new channel by default.
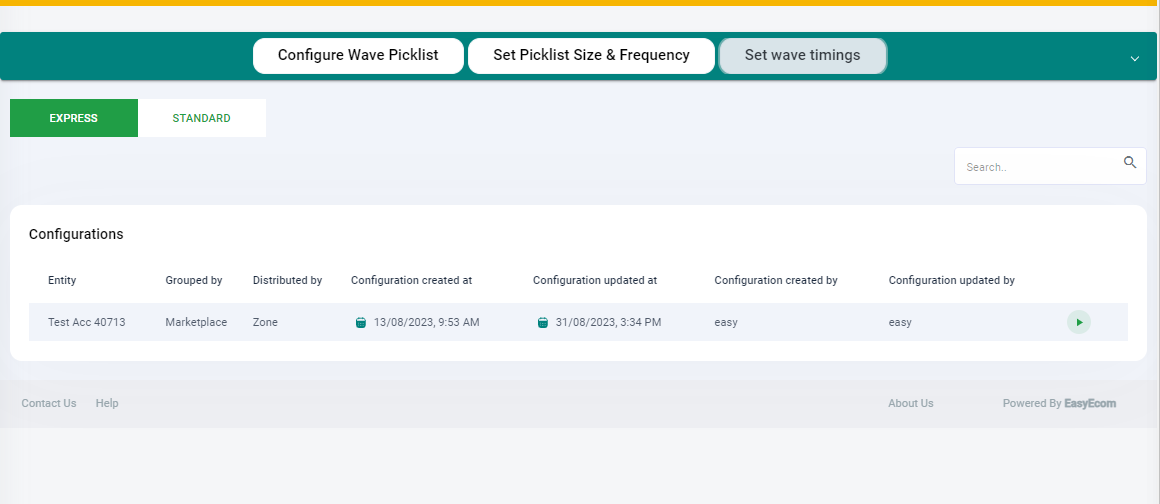
CHANGING WAVE SIZE, FREQUENCY, OR GROUPING METHOD FOR EXISTING WAVE CONFIGURATION:
1. If users want to change the size, frequency, or grouping method, then click on the ‘Configure Picklist Size & Frequency’ button.
2. On clicking, you will be redirected to the page where you can change the size, frequency, or grouping.
3. In the case of 3PL, on clicking the ‘Configure Picklist Size & Frequency’ button, select the seller/entity for whom he is changing the configuration.
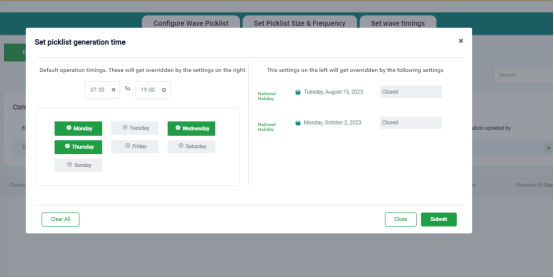
SET WAVE TIMINGS (Opening and closing of Warehouse)
Here you can configure the warehouse opening and closing time of any particular location so that waves can be created in an optimized manner.
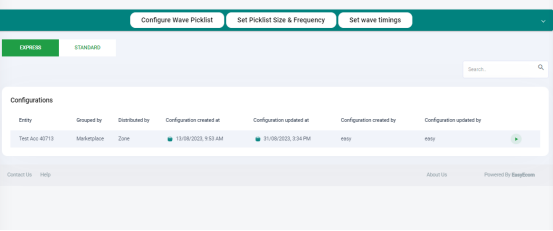
Navigate to the wave configuration page, and click on the ‘Set Wave Timings’ button as shown below.
On clicking the button, a modal will open that shows all the days in the list view with an option to enable disable against every day. If disabled, it indicates that the warehouse will be closed on that day and no wave will be created on that day. By default, Saturday and Sunday will be disabled.
Define the start time and end time of the location shown on the left side below.
On the right-hand side, the system will populate all the lists of national holidays and in disabled status which indicates that waves will not be generated on this day too. By default, we will populate 3 days (26th Jan, 15th Aug and 2nd Oct)
PICKLIST GENERATION PROCESS:
Whenever a wave runs, all the unbatched orders will be added in a batch based on the grouping defined at the time of wave configuration.
The batch created will be shown in the Orders>> Orders batches section, where you can filter the batches as per the wave type and order type.
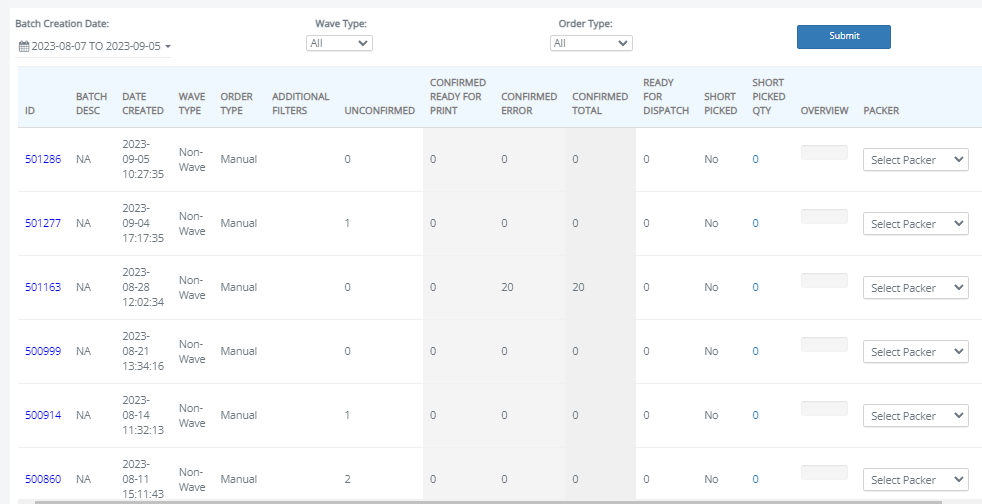
In a batch, there can be the possibility of multiple picklist creation based on the wave size and distribution. For eg- if the wave size is 50, and in an order batch the total item count is 150 and this is picked from 2 zones, then possible 6 picklists can be created.
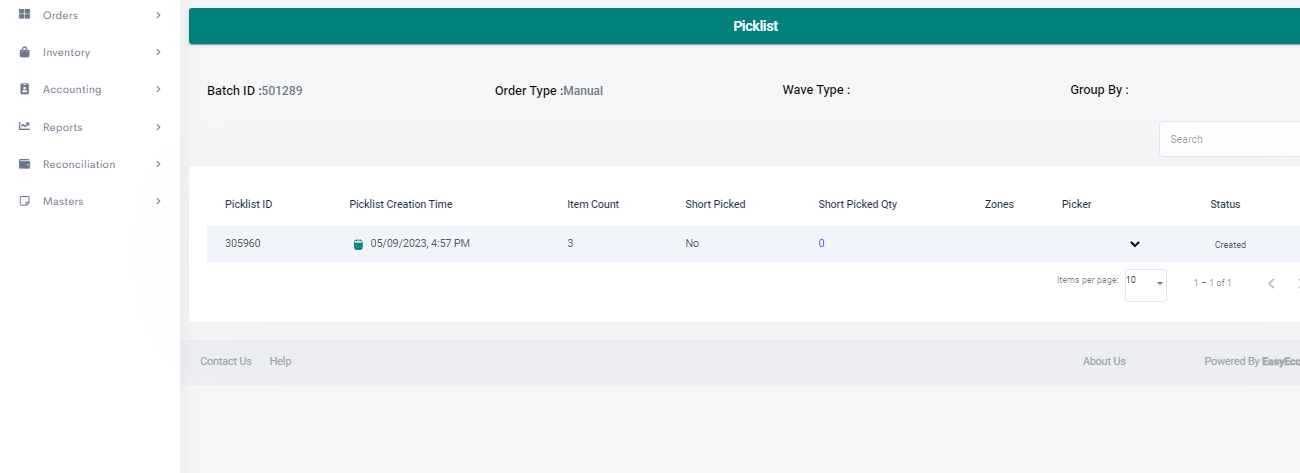
As you click on batch ID hyperlink, it will be redirected to the picklist page, where all the picklist associated to that order batch will be populated.
This page will be shown to the Admin/WH Manager, in which the Manager can assign the picker against each picklist as shown below.
Note- For order batches containing a single order, SKU/EAN/USN needs to be scanned at the packing station for generating labels and invoices, whereas for batches containing multi-SKU orders, Pigeonhole ID needs to be scanned in the packing station. (Click here for more details on pigeonhole )
Related Articles
HHT - Picklist & Short Picking Process
Picklist: You can view a single picklist for all the orders that are assigned to a batch, pick inventory items at your warehouse location and scan it. The app also helps you identify the remaining items that you need to pick to complete order ...Integrating DHL Express with EasyEcom
By following the below-mentioned procedure you can integrate DHL Express with EasyEcom and configure it as a shipping carrier for order fulfillment. Step 1: Navigate to 'Masters > Carrier Master' In the toggle menu, navigate to: Once you click on ...Integrating Carrier Partners for Selfship Orders
Overview You can integrate carrier partners in EasyEcom to enable self-ship order processing. When to Use This Feature Use this setup when: You want to configure carrier partners for self-ship orders You need to manage carrier details within EasyEcom ...HHT- Pick & Pack process for B2B orders
Software Plan : Starter, Growth & Enterprise Account Type : Seller Account Inventory Type : Serialized & Non-Serialized Required Settings for this feature to work : Settings to be enabled from the backend 1. is_b2b_new 1 This setting will enable the ...Webhook configuration
What are webhooks? They are user-defined HTTP callbacks that will get triggered when there is a change in events. Webhook detects if there is an event, collects data, and will send that to the respective URL. Configure webhooks in EasyEcom There are ...