Integrating Shopify Marketplace with EasyEcom
Description
This article explains how to integrate a Shopify channel with Easyecom using either a Public App or Private App configuration.
The same setup applies to Shopify, Shopify POS, and Shopify Marketplace channels.
Navigation
Account Settings → Add Channels → Shopify Marketplace
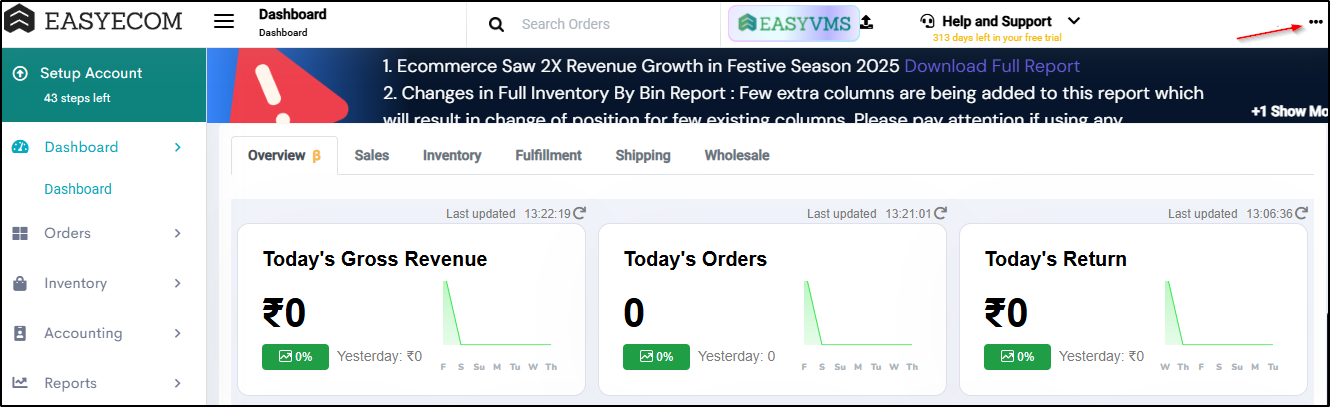
Step 1: On the dashboard, click on the “Three dots aka meatball menu”
Step 2: Click on the “Account Settings” option:
Step 3: Click on “Add Channels”
Once you click on Account Settings you will be navigated to the following page.
Here click on “Add Channels”.
Step 4: Select “Shopify Marketplace"
Once you click on “Add Channels” scroll down to find the channel:
Under Select Website Builder section > Click on the “Shopify Marketplace"
Once you click on it, the following pop-up will appear:
The following fields are available on the Shopify channel setup screen:
- Shop Domain
- Select Shopify App (Public / Private)
- API Key
- Access Token
- Vendor Code
- Item Price Includes Tax (Yes / No)
How to Find Shop Domain
- Open Shopify Admin Panel
- Copy the highlighted part of the store URL
- The selected part in the URL is your Shop Domain. Please enter this in the “Shop Domain” field on EasyEcom.
- For easy access, open your Shopify account in the next tab to copy the Shop Domain.
Select Shopify App > If Public App is selected
- Required
- Shop Domain
- Item Price Includes Tax (Yes / No)
- Vendor Code
- Not Required
- API Key
- Access Token
- Steps
- Copy the Shop Domain from your Shopify store URL (as shown Above)
- Enter the Shop Domain in Easyecom
- Click Add Channel
- You'll be redirected to the given page,Here you are required to login your Shopify account credentials and provide the below access
- Upon successful Authorization of the Username and Password,
- You'll be redirected to the below page for location selection:
The Shopify channel will be successfully added upon location submission
Select Shopify App > If Private App is selected
- Required
- Shop Domain
- API Key
- Access Token
- Item Price Includes Tax (Yes / No)
- Vendor Code
- Not Required
- Shopify authorization login flow
Steps to generate API Key and Access Token
- Go to Shopify Admin Panel
- Click on Apps > App and Sales Channel Settings
The below Page will be opened:
- Click on Develop Apps
- Click on Create an App
Enter App name: EasyEcom
Select any Admin account as App developer
Click on Create App
- Click on Configure Required Permissions
Permission List:
In the Below Step, select the below mentioned mandatory checkbox values which are available on the page, rest can be left unchecked (note: do not consider selecting all the checkboxes as mentioned on Screenshot):
- read_products
- write_products
- read_product_listings
- read_orders
- write_orders
- read_all_orders
- read_inventory
- read_locations
- read_merchant_managed_fulfillment_orders
- write_merchant_managed_fulfillment_orders
- write_inventory
- read_fulfillments
- write_fulfillments
- write_third_party_fulfillment_orders
- write_product_listings
- read_assigned_fulfillment_orders
- write_assigned_fulfillment_orders
- read_third_party_fulfillment_orders
- read_customers
When done, click on Save
- Now navigate to the API Credentials Tab
- Click on the Install app Button and then Confirm Button on the Dialogue Box
You will get API key and Access Token. Refer Screenshot below.
- Once you have entered the information in EasyEcom, click on the “Add Channel” button.
Step 7: Select Store Location:
Select the Store location from the Given dropdown and Submit.
Please Note: Shop Domain, Access token and API Key should be Marketplace specific.
The Vendor Code will be Brand/Client specific Shopify Vendor
All the Above details will be Shared by the Shopify Marketplace Team directly.
Note: If you enable the "Create Products Automatically" option, EasyEcom will automatically create a Master SKU of all your listed SKUs in Shopify. This is the easiest way to mirror the catalogue from Shopify to EasyEcom.
If you choose to not enable “Create Products Automatically”, you will have to upload the product master manually and map it with your Shopify listings.
You have now successfully integrated Shopify with EasyEcom.
Please note the status assigned to your order in EasyEcom and Shopify during different order stages.
RTO Shipments can be automatically created for orders returned via ClickPost and Pickrr.
Related Articles
Integrating Shopify POS with EasyEcom
Description This article explains how to integrate a Shopify channel with Easyecom using either a Public App or Private App configuration. The same setup applies to Shopify, Shopify POS, and Shopify Marketplace channels. Navigation Account Settings → ...Integrating Ginesys POS+ERP with EasyEcom
To integrate your Ginesys POS+ERP account with EasyEcom please follow the below-mentioned process. Step 1: In the toggle menu, navigate to “Accounting>>ERP Integration” Step 2: Select "Ginesys POS+ERP" On the ERP Integration webpage, click on the ...Integrating Marketplace using EasyEcom Standard APIs
You can easily integrate your marketplace with EasyEcom by following the process explained in this video and/or the integration workflow document shared with you. Marketplace Integration Frequently Asked Questions 1. Do we need to add carrier ...Integrating Wishlink with EasyEcom
This guide explains how to integrate Wishlink Marketplace with EasyEcom to manage listings, inventory, orders, fulfillment, cancellations, and returns. Step 1: Click on the Settings (⚙️) icon in the top-right corner Step 2: Click on 'Add Channels' ...Shopify Tag Orders Import
Software Plan : Starter, Growth & Enterprise Account Type : Seller Account Inventory Type : Serialized & Non-Serialized Feature description With this new enhancement, users can now import order tags from Shopify directly through the EasyEcom user ...