Integrating Shopify B2B with EasyEcom
This article explains how to integrate a Shopify B2B store with EasyEcom. The integration supports both Public and Private Shopify apps.
Step 1: Click on the Settings⚙️icon on top the top right corner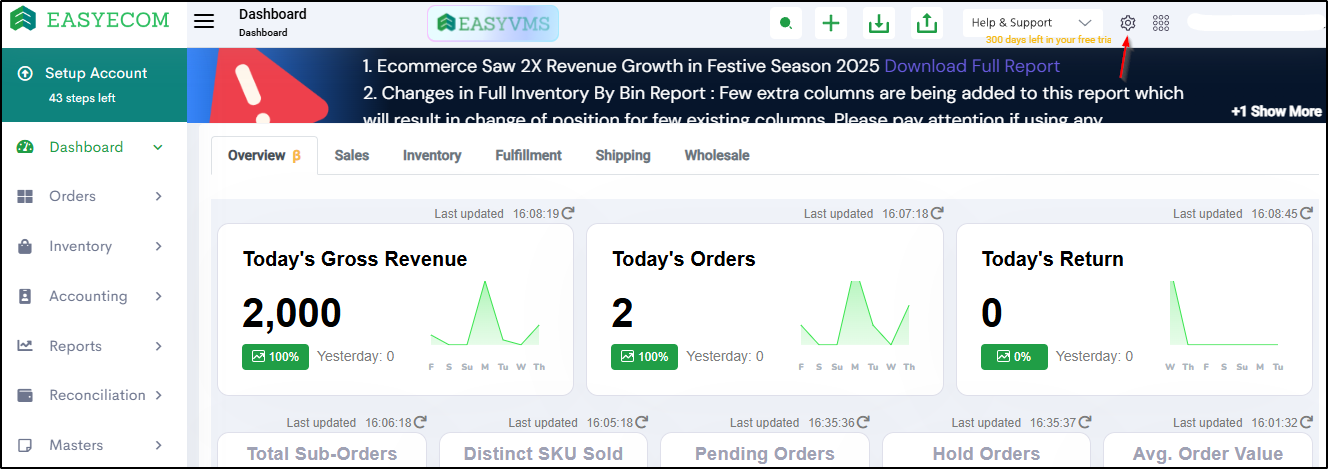
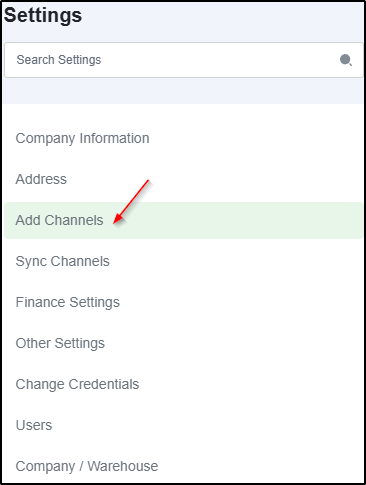
Step 2: Click on 'Add Channels'
Step 3: Under the available Channels, Select 'Shopify B2B'
The following Add Channel window is displayed.
Select the Shopify App type from the Select Shopify App dropdown.
The following fields are available on the integration screen:
- Select Shopify App (Public / Private)
- Shop Domain
- API Key
- Access Token
- Item Price Including Tax (Yes/No)
- Create Products Automatically
Step 4: For your “Shop Domain”
In the pop-up you need to enter your Shop Domain.
Note: The selected part in the URL is your Shop Domain. Please enter this in the “Shop Domain” field.
For easy access, open your Shopify account in the next tab to copy the Shop Domain.
For Public App
- Select Public from the Select Shopify App dropdown.
- Enter the Shop Domain.
- Select whether Item Price Including Tax is Yes or No.
- Enable or disable Create Products Automatically, as required.
- Click Add Channel.
- Log in to your Shopify account.
- Authorize EasyEcom to access your Shopify store.
- Select the required Shopify location.
The Shopify B2B channel is added after the location is submitted.
Note: When Public is selected, the API Key and Access Token fields are unavailable and display N/A.
Upon successful Authorization of the Username and Password,
You'll be redirected to the below page for location selection:
The Shopify B2B channel is added after the location is submitted.
For Private App
Enter the following details:
- Shop Domain
- API Key
- Access Token
- Item Price Including Tax
After entering the required details, click Add Channel.
Generate the API Key and Access Token using the steps below.
Steps to Generate API Key and Access Token:
Follow the steps below to generate the API Key and Access Token.
The following page is displayed.
Enter the following details:
- App name: EasyEcom
- App Developer: Select Any Admin account in this step.
- Select Create App
Permission List:
In the Below Step, select the below mentioned mandatory checkbox values which are available on the page, rest can be left unchecked (note: do not consider selecting all the checkboxes as mentioned on Screenshot):
- read_products
- write_products
- read_product_listings
- read_orders
- write_orders
- read_all_orders
- read_inventory
- read_locations
- read_merchant_managed_fulfillment_orders
- write_merchant_managed_fulfillment_orders
- write_inventory
- read_fulfillments
- write_fulfillments
- write_third_party_fulfillment_orders
- write_product_listings
- read_assigned_fulfillment_orders
- write_assigned_fulfillment_orders
- read_third_party_fulfillment_orders
- read_customers
Click on Save Button
Now navigate to the API Credentials Tab
Click on the Install app Button and then Confirm Button on the Dialogue Box.
Copy the generated API Key and Access Token from Shopify.
Enter these values in the corresponding fields in EasyEcom.
Click Add Channel to complete the integration.
Note: If Create Products Automatically is enabled, EasyEcom automatically creates product records for products received from Shopify that do not already exist. If this option is disabled, the products must already exist in EasyEcom before they can be processed.