Integrating Payed with EasyEcom
Please follow the below-mentioned process to integrate Payed with EasyEcom.
Step 1: Click on the “Account Settings” option
Once you click on the meatball menu, you will see the following fly-out menu:
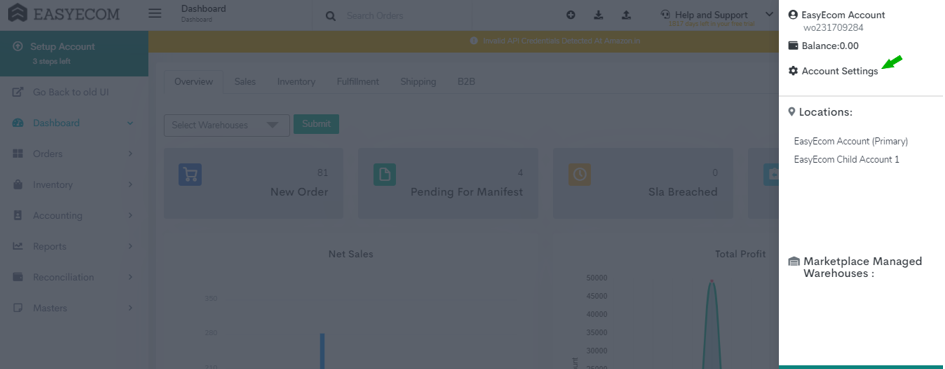
Here click on the “Account Settings” option.
Step 2: Click on “Add Channels”
Once you click on Account Settings you will be navigated to the following page:

Here click on “Add Channels”.
Step 3: Select Marketplace “Payed”
Here please click on the “Payed” button.
Once you click on it the following pop-up will appear:
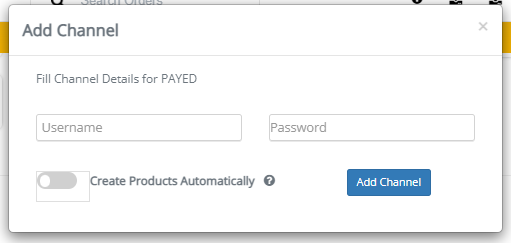
Enter “Dummy” in Username and Password columns.
Please reach out to Payed Team for further integration.
Please note that the Payed Team will:
Create product listing
Create orders
Assign shipment details
Note that, all Payed marketplace orders will initially be visible on the “New Orders” section. Once you “Confirm” these orders in EasyEcom, they will temporarily move to the “Failed Orders” tab.
Payed Team will assign shipment details, and then the orders will move to the Ready for Print tab. Post that you can continue with order processing.
Please do not enable the “Create Products Automatically” option while adding Payed channel.