Integrating Knot Marketplace with EasyEcom
Please follow the below-mentioned process to integrate Knot with EasyEcom.
Step 1: Click on the “Account Settings” option
Once you click on the meatball menu, you will see the following fly-out menu:
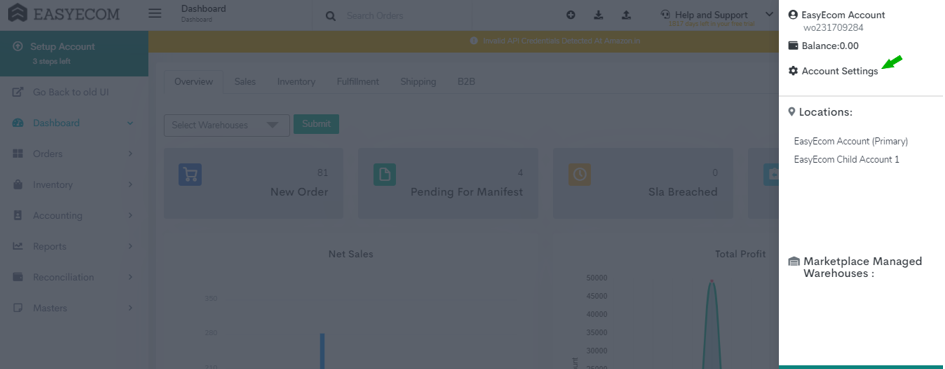
Here click on the “Account Settings” option.
Step 2: Click on “Add Channels”
Once you click on Account Settings you will be navigated to the following page:

Here click on “Add Channels”.
Step 3: Select Marketplace “Knot ”
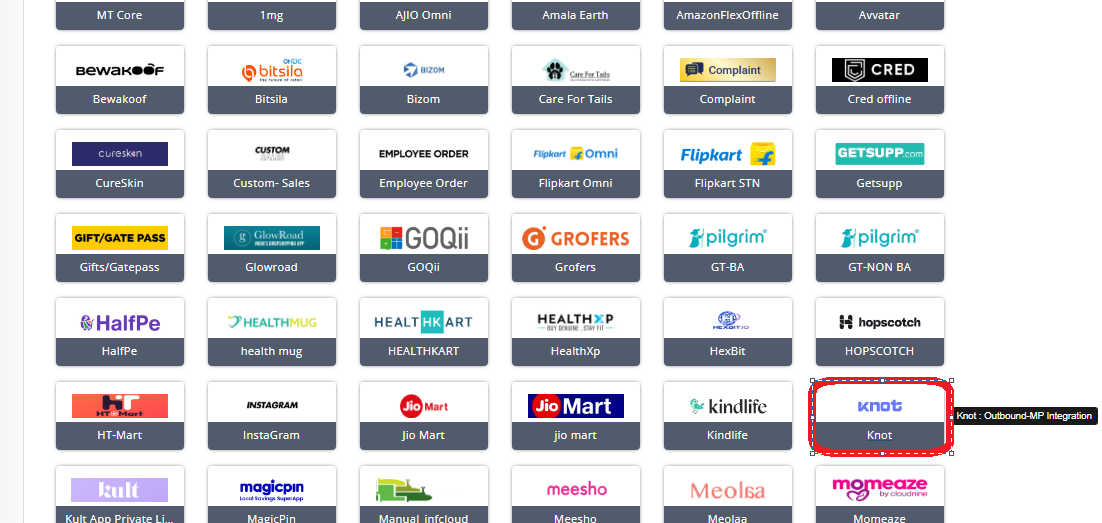
Here please click on the “Knot” button.
Once you click on it the following pop-up will appear:
Enter Knot marketplace credentials.
Note:
Don't enable the "Create Products Automatically" option.
Enable "API Mode" from "Sync Channels" section.
Please ask the Support Team to get the inventory and order status webhook configured.
Please create an API User role and share the Username, Password, Location-Key with Knot Team.
Location-Key is the EasyEcom Seller ID.
Webhooks to be configured:
Update Inventory:
Marketplace : NA
Action : V2
URL : https://d6c8-2406-7400-9a-af04-19ff-cffe-e486-960b.ngrok-free.app/easyecom/webhook/update_inventory
Token : To Be shared from the Knot team
Email :
Confirm Order Start:
Marketplace : Knot
Action : V2
Token : To Be shared from the Knot team
Email :
Cancel Order:
Marketplace : Knot
Action : V2
URL : https://d6c8-2406-7400-9a-af04-19ff-cffe-e486-960b.ngrok-free.app/easyecom/webhook/cancel_order
Token : To Be shared from the Knot team
Email :
Manifested :
Marketplace : Knot
Action : V2
Token : To Be shared from the Knot team
Email :
Mark Return:
Marketplace : Knot
Action : V2
Token : To Be shared from the Knot team
Email :
You have now successfully integrated Knot with EasyEcom.
Important:
Please note that the inventory trigger will be separate as per warehouse level and there will be no addition of the inventory count from all the warehouses while we trigger the webhook.
For example, let's say there are 3 warehouses. Inventory is added in 2 warehouses by 10 units each, and reduced in the third warehouse by 5 units. The system will send 3 separate inventory updates via webhook for each warehouse separately
Order routing across warehouses can be managed by EasyEcom. Please inform our Support Team if order routing needs to be enabled
Related Articles
Integrating Marketplace using EasyEcom Standard APIs
You can easily integrate your marketplace with EasyEcom by following the process explained in this video and/or the integration workflow document shared with you. Marketplace Integration Frequently Asked Questions 1. Do we need to add carrier ...Integrating Wishlink with EasyEcom
This guide explains how to integrate Wishlink Marketplace with EasyEcom to manage listings, inventory, orders, fulfillment, cancellations, and returns. Step 1: Click on the Settings (⚙️) icon in the top-right corner Step 2: Click on 'Add Channels' ...Integrating Noon with EasyEcom
This guide explains how Noon orders, shipment creation, AWB mapping, and manifestation are managed through the EasyEcom integration flow. Step 1: Click on the Settings (⚙️) Icon Click on the Settings (⚙️) icon in the top-right corner. Step 2: Click ...What is Marketplace Alias? How to add Marketplace Alias?
Software Plan : Starter, Growth and Enterprise Account Type : Seller Account & Aggregator Client Inventory Type : Serialized & Non-Serialized Feature Description This feature empowers sellers to create a unique alias (pseudo name) for their ...How does EasyEcom work?
As soon as you sign-up your account with EasyEcom and Integrate all your channels you will be amazed to see how EasyEcom can make your operations very much simple and stressless. It helps you to perform activities related to the Order process, Stock ...