How to Enable/Disable Listings?
Steps to enable/disable Listings:
1. Go to manage Listings Tab
2. Select update listings in the hamburger menu.
3. Select the marketplace in the drop-down menu and Download Listings Data Sheet.
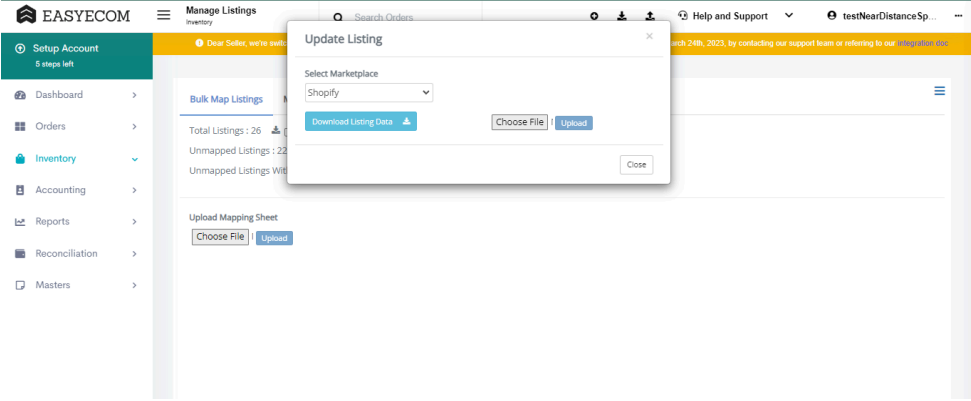
4. Fill the column Inventory Live as active to enable the listing and as inactive to disable
the listing.
Related Articles
Enable and Disable Inventory Sync by Marketplace.
Step 1: In the toggle menu navigate to “Inventory>>Manage Inventory” Step 2: Select “Disable/Enable” Inventory by Filter” option On the Manage Inventory screen, click on the hamburger menu and select “Disable/Enable Inventory by Filter” option. Step ...How to manage Dynamic Virtual Inventory in Easyecom
Software Plan: Startup, Growth & Enterprise Account Type: Seller Account Inventory Type: Serialized & Non Serialized Feature description The Dynamic Virtual Inventory feature allows you to push more inventory than you have in stock across different ...Manage Listings (SKU mapping/unmapping)
Software Plan: Starter, Growth & Enterprise Account Type: Seller Account & Aggregator 3PL Inventory Type: Non-Serialized & Serialized Feature Description SKU is a unique identification number assigned to your product listed across multiple e-commerce ...Delta Inventory Adjustment in Easyecom
Software Plan: Growth Account Type: Seller Account Inventory Type: Serialized & Non-Serialized Feature description The Delta Inventory Update feature enables users to increase or decrease their inventory counts on any specific marketplace without ...Enable Batch Order Processing Flow
Organisations divide their order processing operations in batches so that the task can be completed within a short span of time. This ensures that a high volume order can be processed quickly without any error. In EasyEcom you can enable the Batch ...